So often, I get questions from new influencers asking what the steps of brand collaboration or brand partnership are. There is so much that goes into the content you see on Instagram – sponsored and unsponsored posts.
My goal with my “Influencer Industry Insider” blog post series is to provide an inside look at all things collabs, influencers, brand contracts, etc. Unfortunately, the influencer space is still a very new industry, and there aren’t many resources out there to provide industry transparency.

Here are the steps to a brand partnership:
Step 1: The Brand Reaches out to You or You Reach out to the Brand
I’ll be honest, connecting with a brand is one of the most exciting parts of the collaboration process. It validates me as an influencer and lets me know that a brand sees my social collateral. Always respond to the brand, company, or PR agency timely and in a professional manner. Whether or not we end up collaborating, I always thank them for taking the time to reach out and connect.
Step 2: Meet with the Brand
Next, you’ll meet with the brand. This step can occur via zoom, over the phone, etc. More often than not, I usually meet with a brand before the collaboration. Meeting with the brand in some form is especially true of any brand partnership that require me to travel overnight or specifically go to a location. During this brand partnership meeting, you have the opportunity to connect with the brand and ask any questions that you may have. Usually, the brand would have sent you a copy of the creative brief to review. Be sure to do so. Then, highlight, underline, and circle anything you have a question or need clarification regarding the brief. No question is too big or too small.
Step 3: Review the Agreement
Yay! Your meeting with the brand went well, and they’ve provided you with a copy of the agreement. Take your time when reviewing. Go through your brand contract agreement with a different color pen and circle important dates, things you’re required to do, who you’re required to connect with, etc. If everything looks good, you can sign it and send it back to the brand. Always be sure to save a copy of your brand partnership agreement for your records.
Step 4: Negotiate
After reviewing the brand partnership agreement, lets say there were some changes you’d like to make to the contract. Any time you present changes to a brand about the contents of the contractual agreement, the process is called negotiation. You can negotiate anything and everything – I mean that. For example, I’ve negotiated posting dates, compensation, the amount of product, etc.
If you need help reviewing your agreement, I offer a collaboration contract consultation service. I’ll review your partnership agreement and point out anything you might want to negotiate.

Step 5: Prep for the Collab
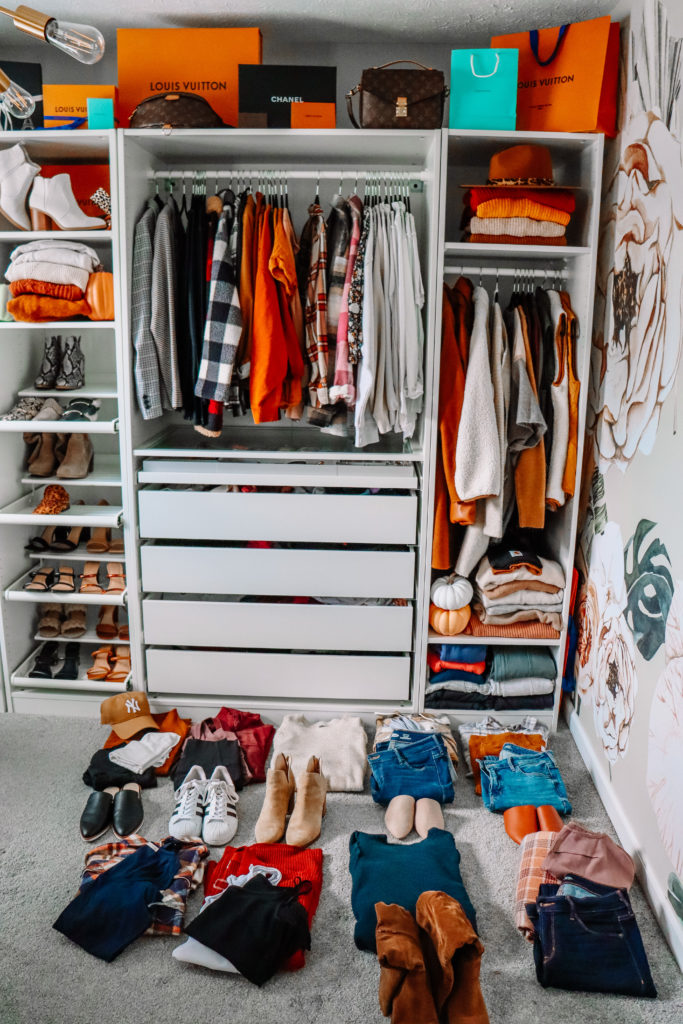
Prepping for a collab is one of my favorite parts of the steps of a brand collaboration. I’m very Type-A, and organization is my jam! During this stage of the brand collaboration process, I plan outfits from head to toe, different poses, locations to shoot content, how other influencers have styled their products, etc. I always call this stage the “research and development” portion of the collaboration. After I’m done researching, I compile all of my research into a mood board. I then use the mood board as inspo for the duration of our agreement.
I’ve created what I now call my “Collab Bag Packing List,” where I’ve outlined a ton of necessities when you’re on-site shooting for the collab.
For example – a steamer is a MUST!
I use a machine washable tote from Athleta and it has been amazing! It holds everything I need and has a ton of storage for different necessities! You can purchase it here!
Blog post: What’s in my Collab Bag
Pro Tip – I always add the dates to my iPhone calendar and ClickUp calendar! When you set alerts to go off one week, two days, one day, two hours, one hour, and 30 min before the due date, you can make sure you never miss a deadline.
Step 6: Shoot content
During the next step of a brand collaboration, you’ll shoot the requested content. The night before, print out an additional copy of the creative brief the brand provided, save any required call-outs to your notes app for easy posting access, save contact information for anyone you’re going to meet up with, etc.
Remember to have fun! Collaborating with a brand is such an excellent opportunity and one that most people only dream about.
Before leaving the location, go through your camera/phone and ensure you have all the content you need. I ALWAYS stop and look at every single photo/video after I’ve finished shooting content. Going back and checking your work is a great way to prevent you from missing content. Remember, once you leave, that’s kind of it. By taking the extra half hour to review all of your content, you adored having to have an awkward conversation with the brand later. Remember – you’re the professional, and they’ve hired you to do a job. I’ve heard horror stories from brands where the influencer forgot to shoot a requested photo.
Once you’ve shot all of your content, be sure to follow up with your brand. Let them know about anything that didn’t go well. Example: Let’s say you were told the brand would comp something, but you ended up paying for it. This is an example of something you would want to make sure you communicate to your contact.
Step 7: Send Invoice and W2
Make sure you provide the brand with a copy of your invoice and W2 form. I highly recommend filing for an LLC and TIN (tax identification number). Think of a TIN as the social security number for your business. When you send the brand your W2, you don’t have to put your social security number on it. Instead, you’ll put the business’s TIN. Using a TIN helps to keep your social security number safe.

Step 8: Go Through a Series of Revisions
After you’ve edited the photos, written the blog post, etc., you’ll submit everything to the brand for approval. Be sure to submit your content to them at least three days BEFORE the required submission date. Why? Because it shows the brand that you’re 1) professional, 2) serious about your craft, and 3) It’s very considerate. This step of the collaboration process takes time and patience.
Some brands will require you to respond to their revisions within two hours, and others will ask that you provide an updated version with their feedback incorporated within an hour! It just depends. I always promise to provide an updated version with their feedback incorporated within 24 hours. Why? Because it gives me time to look over the changes the brand has requested.
Step 9: Post and Send Metrics
When you post the agreed upon content from your brand partnership, be sure to consult the contract and creative brief again. Ask yourself:
- Did I use #ad?
- Did I click the option to allow the brand to promote the content?
- Have I tagged the required parties?
- Did I spell-check my post?
- Does the post have all of the required messaging?
- Were you able to include all of the required/requested hashtags?
- Are there any social media channels that I can cross-promote this content?
Posting your sponsored content is such a rewarding experience. As I mentioned earlier, creating content is a HUGE investment for you as the influencer and the brand. Be prepared to engage with the posted content for at least half an hour after posting. Then every hour for ten minutes, plan on engaging again. I always add the below brand partnership schedule to my phone.
For example – Sponsored Content Engagement Schedule:
8:00 am – Post sponsored content
8:00 – 8:30 am – Heavily engage for 30 min
9:30 – 9:40 am – Engage for ten min
10:30 – 10:40 am – Engage for ten min
11:30 – 11:40 am – Engage for ten min
12:30 – 12:40 pm – Engage for ten min
1:30 – 1:40 pm – Engage for ten min
2:30 – 2:40 pm – Engage for ten min
3:30 – 3:40 pm – Engage for ten min
4:30 – 4:40 pm – Engage for ten min
5:30 – 5:40 pm – Engage for ten min
6:30 – 6:40 pm – Engage for ten min
7:30 – 7:40 pm – Engage for ten min
8:30 – 8:40 pm – Engage for ten min
9:30 – 9:40 pm – Engage for ten min
10:30 – 10:40 pm – Engage for ten min
(I repeat this process until 10:00 pm)
Pro Tip: I typically won’t post the day after a sponsored post, and instead, I’ll repeat the above schedule for a second day. As I engage with other people’s posts throughout the day, they are likely to engage back on my most recent post, meaning the sponsored post.
Be sure to take another look at your contract to see when the brand has requested for you to send them a copy of the metrics. Usually, it’s a month after you’ve posted everything. So, send the brand the requested metrics timely. The brand metrics are an excellent example of an important date to add to your calendar and set the alarm.
Step 10: Archive
Finally, after sending the brand the metrics from your sponsored content, the next step of a brand collaboration is to archive the collab. When you archive your collab, you save copies of your work to a folder. The contents of your archive can include photos, a quote from the brand (a testimonial about working with you), copies of the metrics, the creative brief, the contract, any email communications, etc. I always archive my collabs and refer back to them later. As you make adjustments and updates to your media kit, you can refer to your collab archives for material to include, show to other brands, etc.
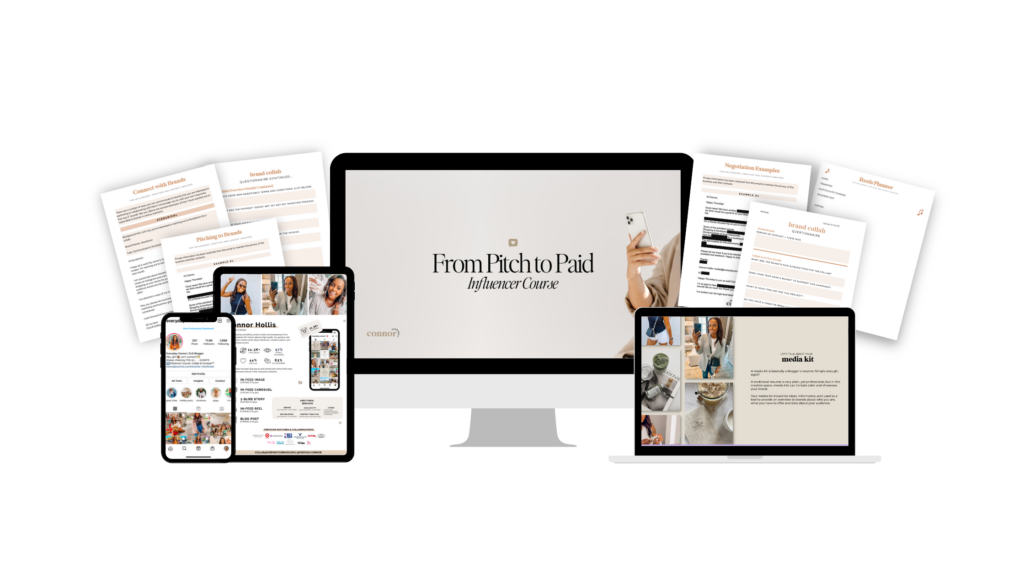
If you’re looking for a more in-depth understanding of partnering with brands for collabs, check out my self-study course, From Pitch to Paid, available now!

I hope you guys enjoyed reading the steps of a brand collaboration! Please be sure to share it on Instagram, Pinterest, Facebook, etc.
xo
Connor